What is Parallels Remote Desktop?
Parallels Remote Desktop is a secure method to access all college systems. Please note currently this system is only available for staff.
Parallels Remote Desktop is available on all devices including:
- Windows 10 PC/Laptop
- MacOS
- iOS (iPhone/iPad)
- Android
- Chromebook
- Linux (Via Web Browser)
. Please scroll down to find instructions for all devices.
FIRST STEP – Register MFA (Multi-Factor Authentication):
Before accessing the system you will first need to register for MFA (Multi-Factor Authentication). To do this please follow the instructions below:
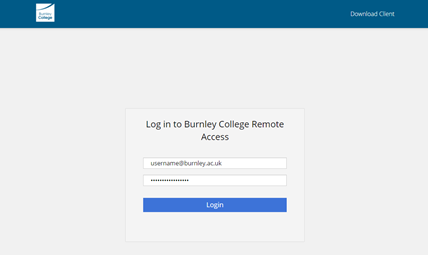
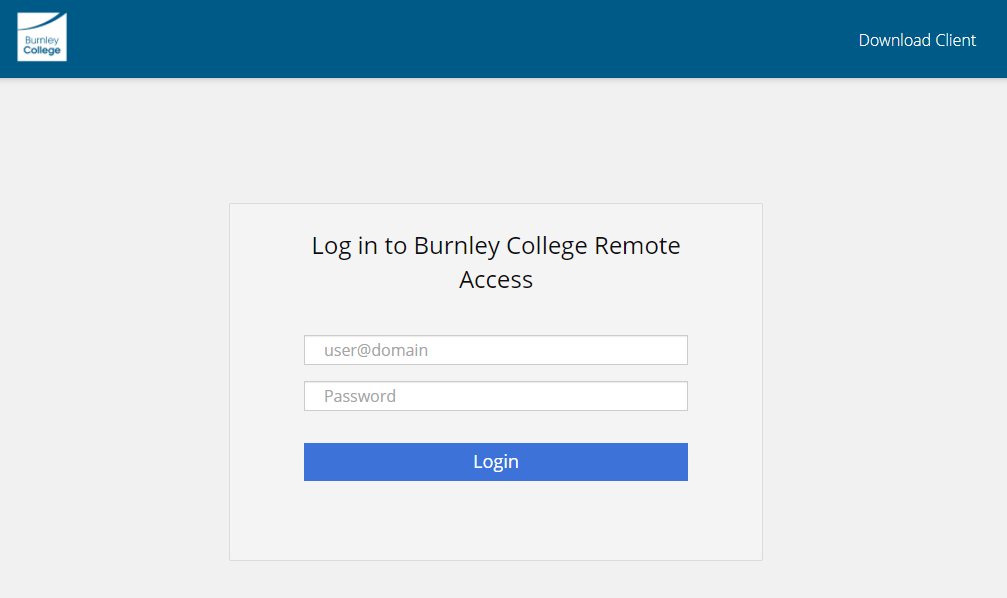
- Open a browser and go to https://remote.burnley.ac.uk/
- Type in your username (e.g. jbloggs@burnley.ac.uk), as shown below:
You will be prompted to set up Two-Factor Authentication:
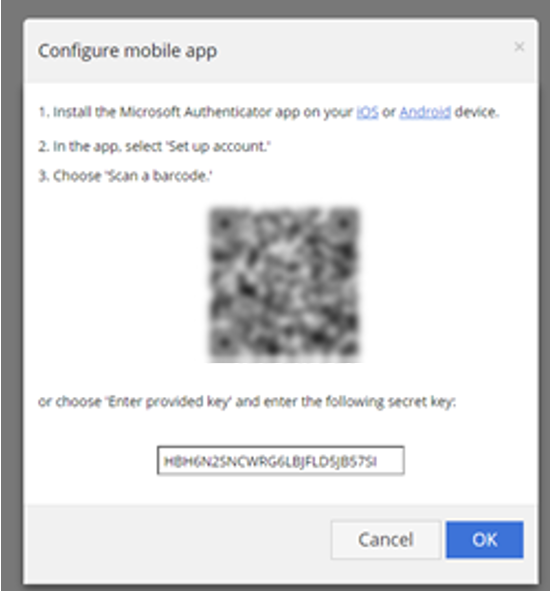
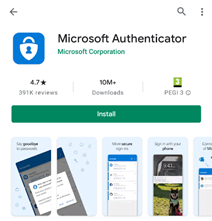
3. Install and open the Microsoft Authenticator App from either the App Store (iPhone) or the Play Store (Android) and agree to the privacy terms. If you already have authenticator installed, please skip to step 5.
4. Launch the app then select the “Scan a QR code” option and scan the barcode on your screen from your phone, then click “OK”. (Skip to step 7)
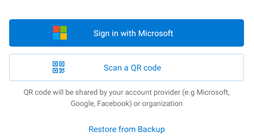
5. If you already have the authenticator app installed, open the app and click on the 3 dots in the top right corner of the screen. This will open a menu like the one below. Click “Add account”

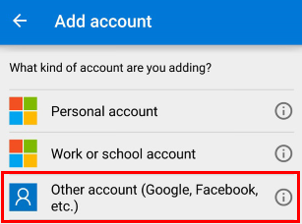
6. You will be given the option to select an account type. Click on “Other account”, then scan the QR code displayed on your screen.
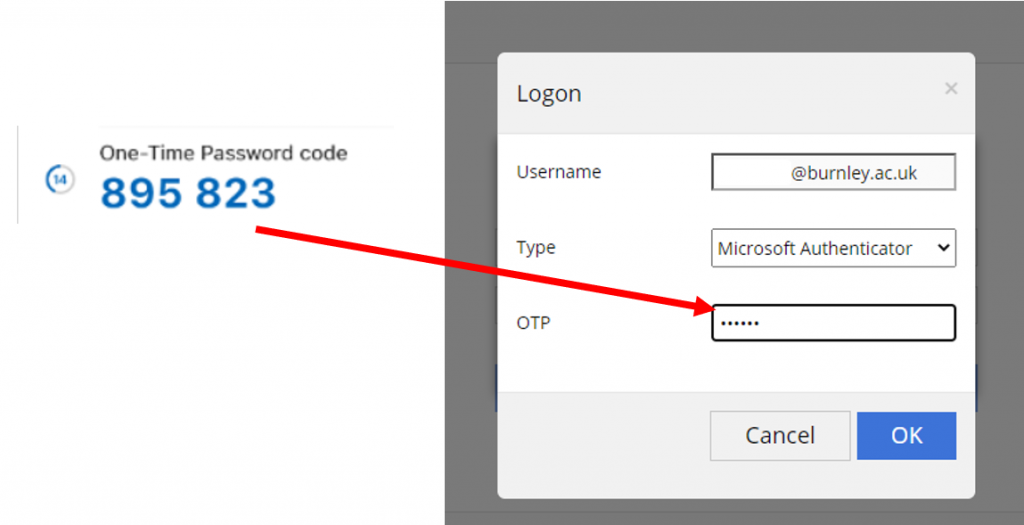
7. On the next screen, In the OTP field, type in the “one-time password code” which appears when you select your account (BC_RAS, username@dc1) on the Microsoft Authenticator App
You have now setup multifactor authentication! The next step is to install the client and access remote desktop:
Windows 10
- Open a browser and go to https://remote.burnley.ac.uk/
- Type in your username (e.g. jbloggs@burnley.ac.uk), as shown below:
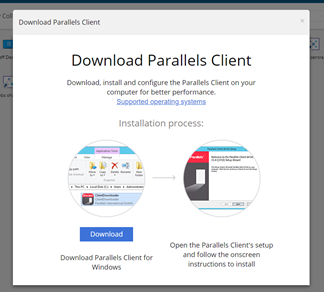
3. Select “Install Parallels Client”

4. Click the “Download” button and run the downloaded file
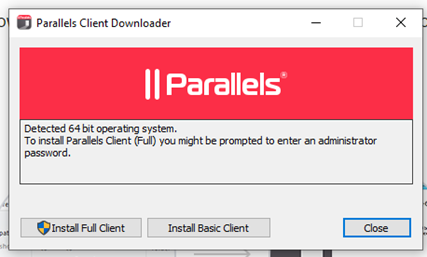
5. Click the “Install Basic Client” button, then follow the steps on the wizard
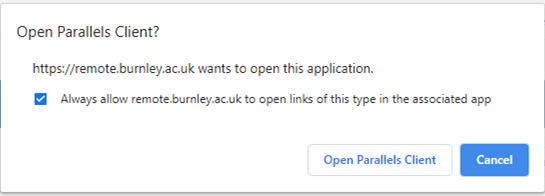
9. Once installed, close the “download parallels client” popup. The following message should appear. Make sure the option is selected. Then, click the “Open Parallels Client” button.
You will now be able to access remote desktop services. When you select the “Staff Desktop” option, a new window will open with your desktop.
If the client does not automatically configure itself, you will need to configure it manually:
Search for “Parallels Client” and open it. If it is not installed, please install it from the “Download Client” button on the top right hand corner of the remote desktop page https://remote.burnley.ac.uk/:
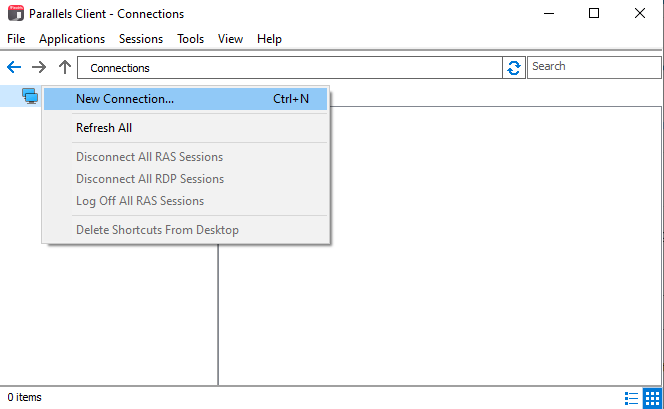
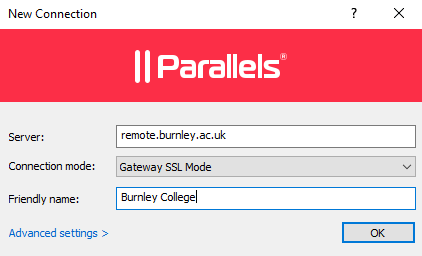
- If you have no connections configured, it will prompt you to set up a new connection. If not, right-click “Connections” on the left pane, and select “New connection” as shown below:
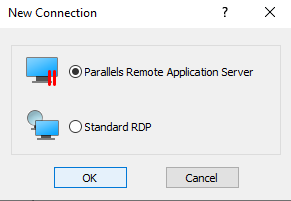
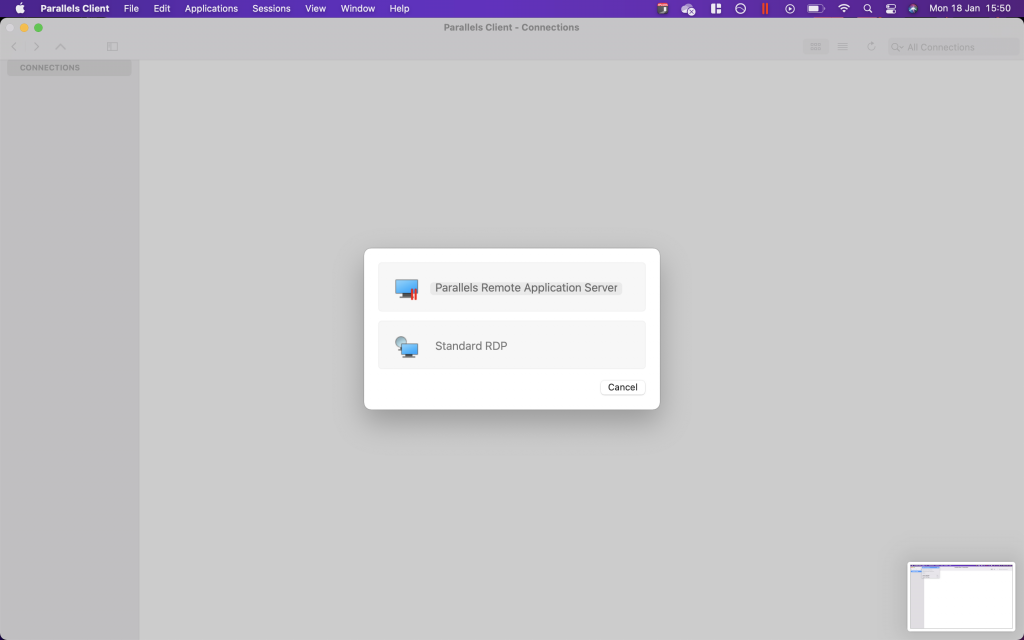
3. Leave the “Parallels Remote Application Server” option selected and click “OK”
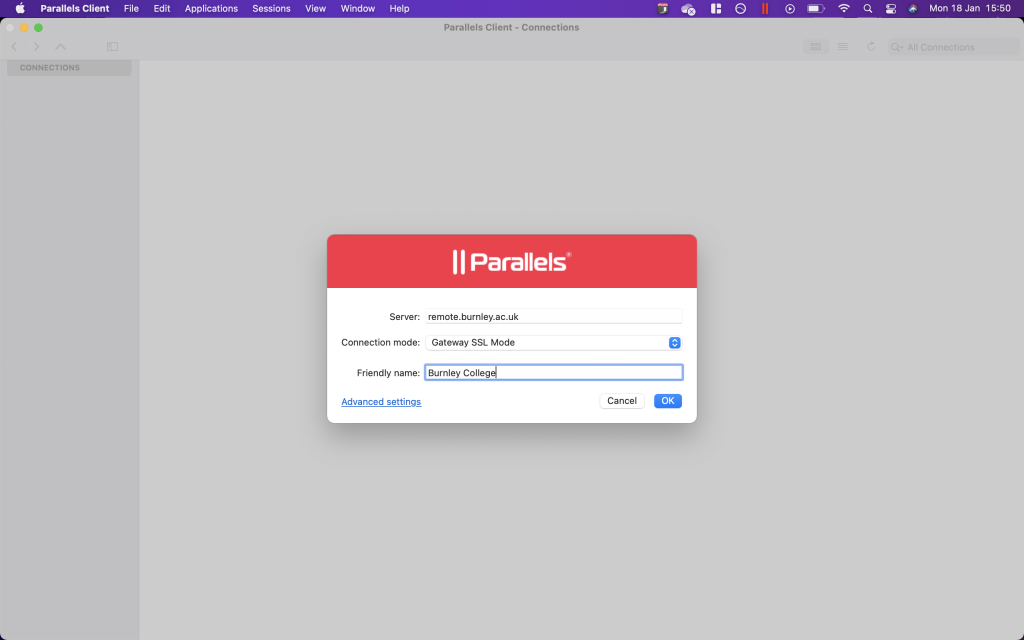
4. In the “Server” field, type remote.burnley.ac.uk
In the “Friendly Name” field, type whatever name you want to call it, then click “OK”
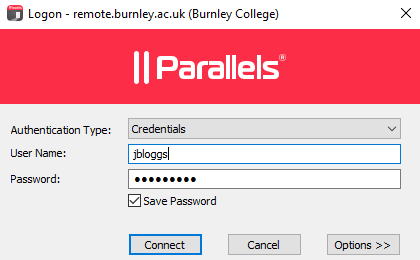
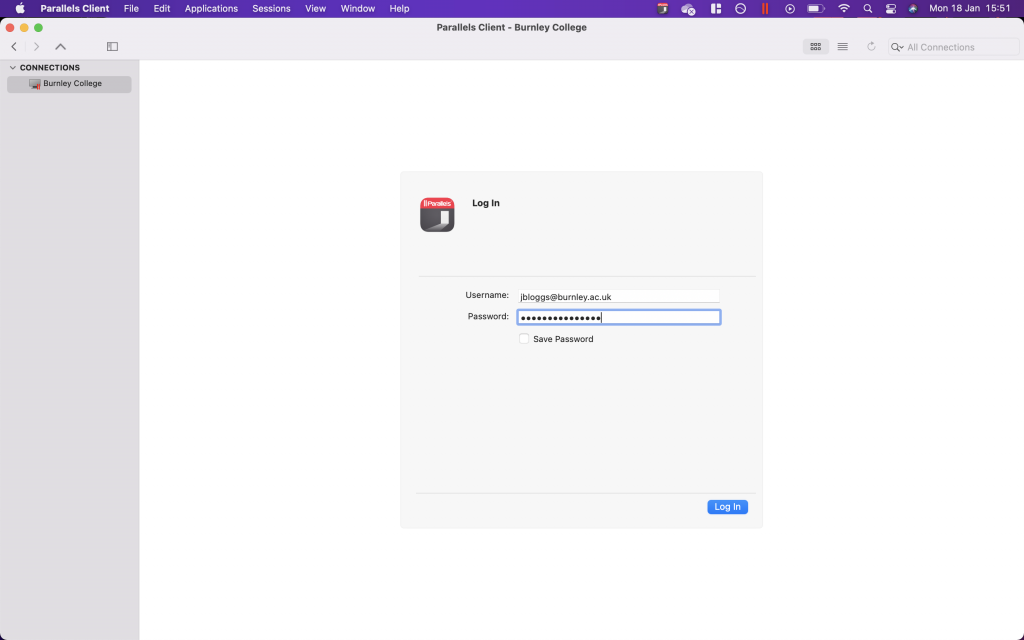
5. You will be asked for your credentials
In the username field, type only your username (e.g. jbloggs), then type your password and click “Connect”
You may be asked for two-factor authentication. Type the “one-time password” from the Microsoft Authenticator app into the OTP field, then click “Connect” (see step 7 above)
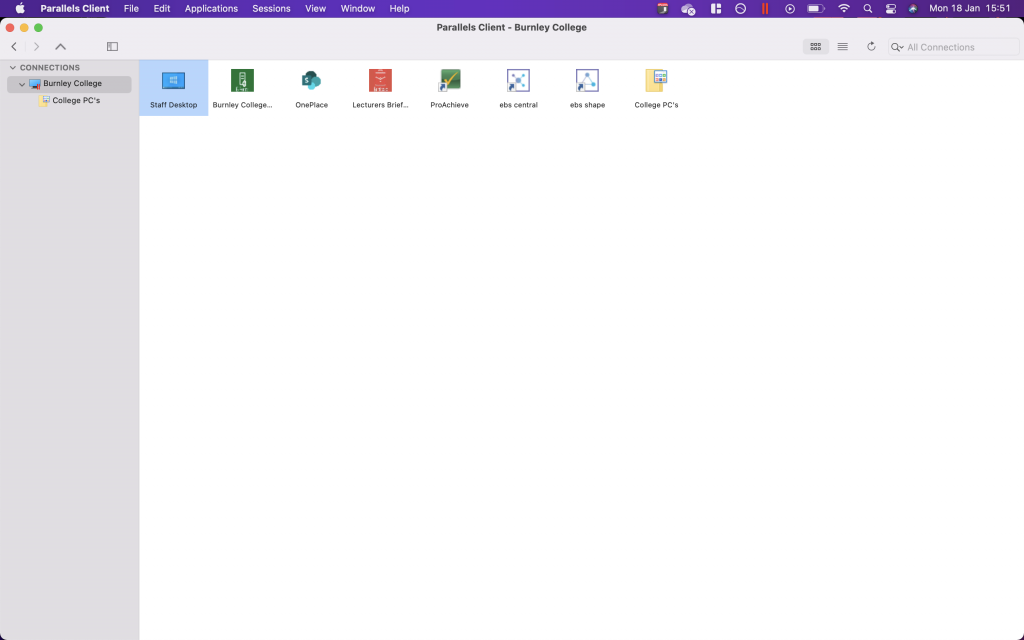
6. Once you are logged in, you should see the screen below.
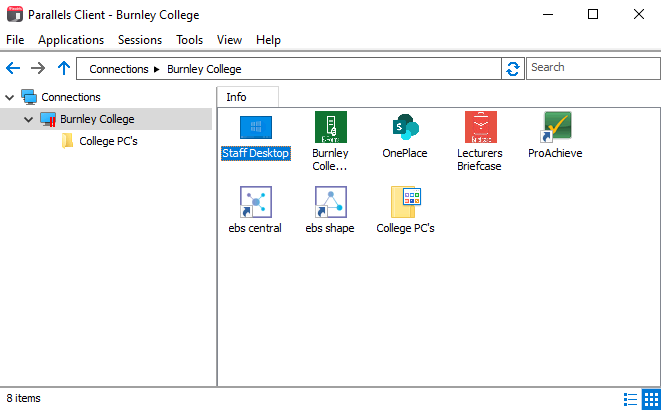
Double-click the “Staff Desktop” icon and a new window will open with your desktop.
Linux – Via HTML5 Web Browser:
Remote Desktop can also be accessed through the web browser.
- Follow steps 1-5 above to login
2. Once you have logged in, right-click the “Staff Desktop” icon, and select “Open in Parallels HTML5 Client” as shown below:
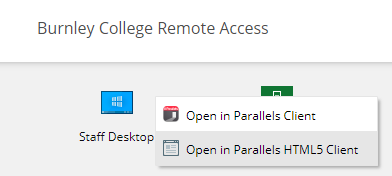
This will open another tab with the Staff Desktop

3. A banner will appear at the top- for ease of use, you can select the “Fullscreen” option to view the desktop in full screen

MacOS/iOS
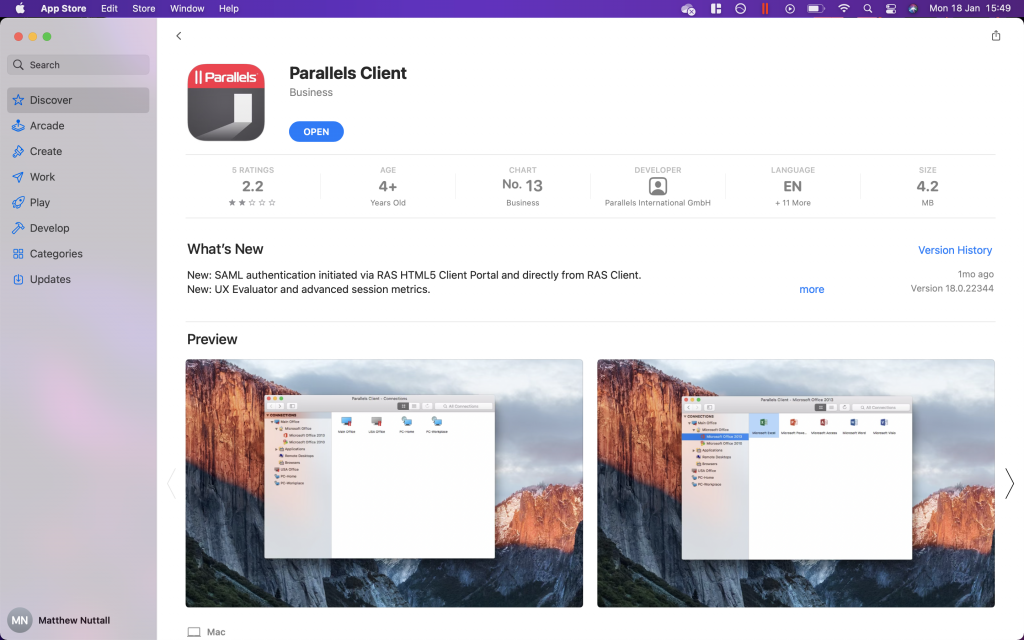
- Download the “Parallels Client” app from the App Store:
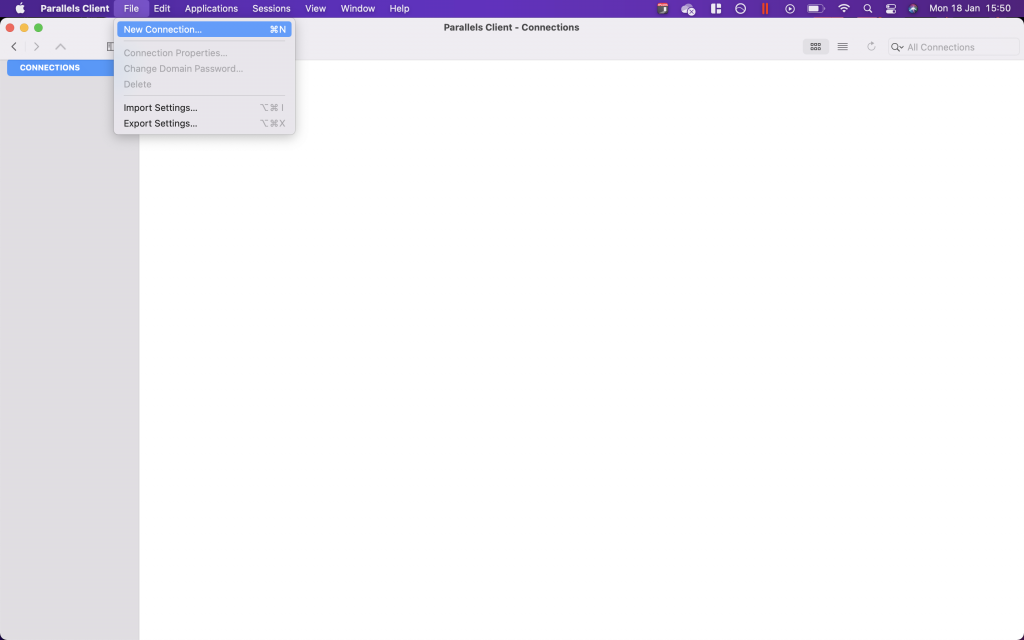
2. Launch the App and press “Edit” on the top bar and then “New Connection”
3. Choose “Parallels Remote Application Server”
4. In the “Server” box type “remote.burnley.ac.uk”. The friendly name can be anything.
5. Type in your network credentials as below PLEASE NOTE, if you have not yet setup 2FA you will be prompted to do so
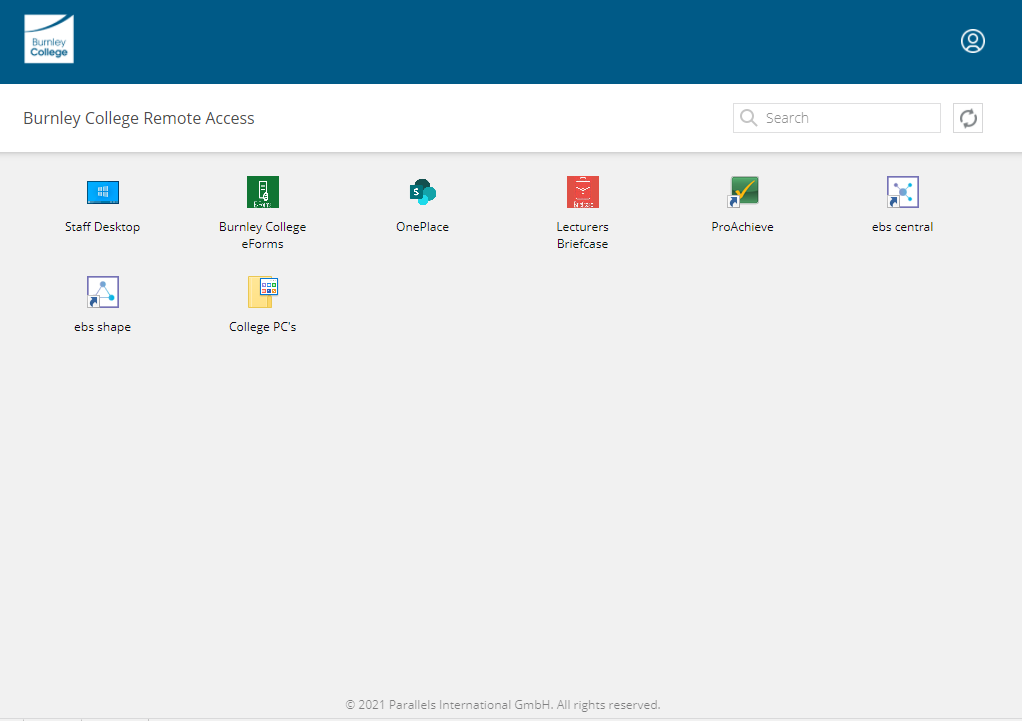
6. You should now be logged in and able to see all the available remote apps:
Chromebook
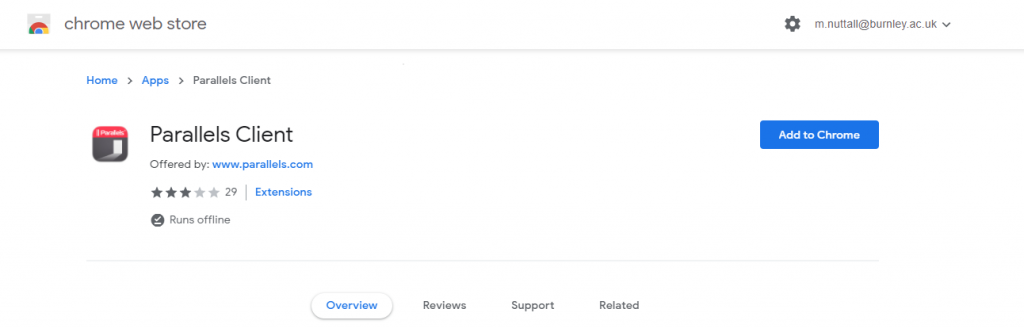
- Download the Parallels Client from the Chrome Web Store by clicking this link Parallels Client – Chrome Web Store (google.com)
- Click “Add to Chrome”
3. Launch the Parallels Client and fill in the information as below
Server – remote.burnley.ac.uk
Alias – This can be anything
User Name – jbloggs@burnley.ac.uk
Password – Your network Password
Network Level Authentication – Tick the box

4. Press save and then connect. You should now see all the remote apps:
